| Video Discription |
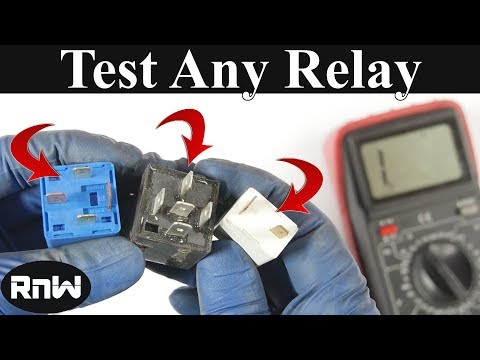
Video tutorial on how to troubleshoot and test a relay on a 12 volt application. Relays are used for numerous applications on your vehicle or small engines such as lawnmowers, snowblowers, tractors, etc to switch a high amperage circuit using low amperage. These applications can be either lighting, fuel pump, auxiliary fans, hvac fan, horns, window defrosters, power windows, etc. Some relays can be more complicated than others consisting of extra electronic components like diodes or transistors to remove the surplus of electricity and prevent voltage spikes, they can also be either normally open (NO) or normally closed (NC), and there can be two or more separate relay devices in one unit.
Website: http://4diyers.com
Facebook: https://www.facebook.com/4diyers
Google Plus: https://plus.google.com/+4DIYers
Twitter: https://twitter.com/4DIYers
Instagram: https://www.instagram.com/4diyers/
Tumblr: http://4diyers.tumblr.com
Pintrest: https://www.pinterest.com/4diyers/
Tools/Supplies Needed:
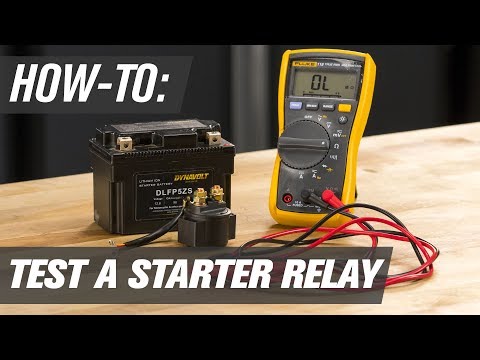
-multimeter
-2 jumper cables
-12v power source
Procedure:
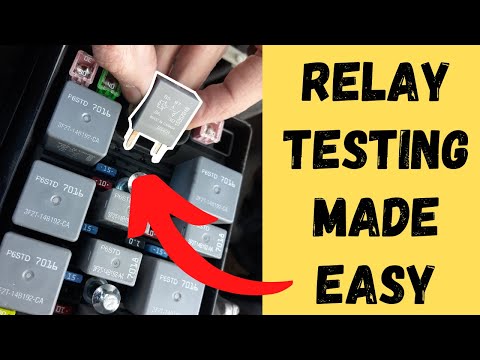
-depending on the circuit you are testing, first we can see if the relay's switching portion is operating correctly by turning the vehicle's key on or turning on it's circuit
-you should be able to hear an audible clicking sound, you can also hold your finger on the relay and feel that clicking sound
-if not, the relay can be faulty or the circuit is not getting power to switch the relay
-remove the relay
-using a multimeter set on the voltage setting, check to see if the vehicle's wiring is sending voltage to the relay by testing the relay's plug
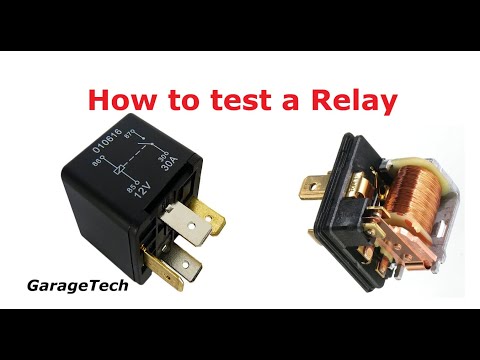
-we want to check the coil side of the relay, you will have to refer to either the vehicle's wiring diagram or the relay's diagram to determine which pins operate the coil
-if there is no power at the plug, then there will be an issue with the vehicle which can include a blown fuse, faulty ground, faulty power wire, faulty switch, etc
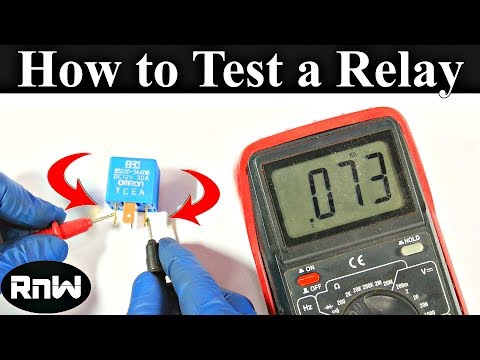
-to test the coil on the relay, using a multimeter using the resistance setting, we are looking for a reading between 50 to 120ohms, anything outside that may mean the coil is faulty or isn't in the best working condition
-if the coil is faulty, the relay will need to be replaced
-to test the contacts, review the diagram to determine if the relay operates at a normally open (NO) or normally closed (NC) position
-if it's normally open (NO) the switching portion of the relay should read no continuity or an open circuit
-if it's normally closed (NC) the switching portion of the relay should read continuity or a closed circuit
-now supply 12 volts to the coil portion of the relay to power it up and operate the switching portion using the jumper cables
-you will hear an audible click and feel the click once power is supplied
-to test the switch portion we will be using a multimeter on the resistance setting to determine if there is continuity or not
-if it's normally open (NO) the switching portion of the relay should read continuity or a closed circuit when the coil is powered up
-if it's normally closed (NC) the switching portion of the relay should read no continuity or an open circuit when the coil is powered up
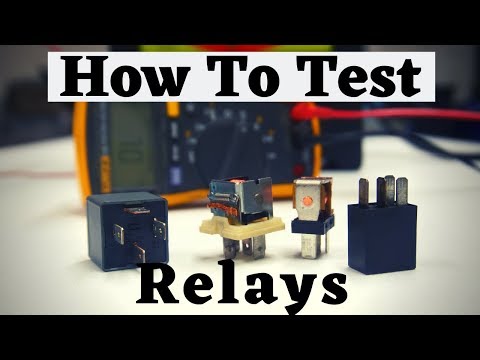
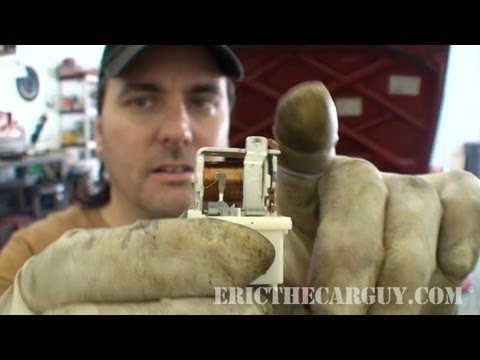
-some relays can be opened up, others not
-if you notice high resistance on the switching portion, if you can open up the relay, the contacts can be cleaned
-clean the contacts using a non conductive sand paper such as aluminum oxide, then following up with some contact cleaner
-if you find the relay faulty, some relays can be switched from other sources of the vehicle just to ensure that there is an issue with that relay
Thank you to all those who watch my videos and support my content. Don't forget to subscribe to my channel for future tutorial videos and like my video if you found it helpful. New videos are always being uploaded every week!
© 4DIYers 2013
All Rights Reserved
No part of this video or any of its contents may be reproduced, copied, modified or adapted, without the prior written consent of the author.
[clSSwXeezDo] |